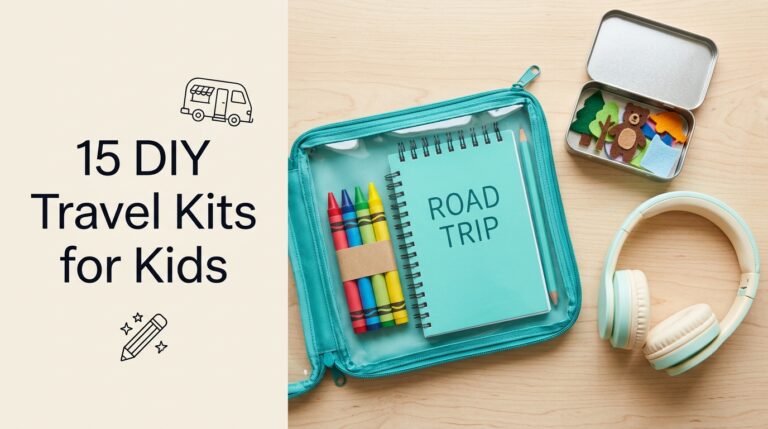
A stack of empty cereal boxes, a few uncoated paper plates, and a basket of leftover construction paper scraps can turn a freezing winter afternoon into an easy creative session. You do not need specialty craft kits to make snowy window decorations, arctic puppets, and tabletop villages that kids are proud to line up along a sunny windowsill or playroom shelf.
These fifteen winter craft ideas pair recycled household recyclables with everyday art supplies. Ten of the ideas (#1-#5, #7-#10, and #15) are dry, low-mess projects using only glue sticks, tape, or yarn for quick snow-day play, while the others bring out washable watercolors, tempera paint, misted markers, or tacky glue when you have time for a craft tray.
If your family enjoyed our autumn projects, browse our fall crafts for kids or carry holiday fun forward with our Christmas crafts for kids.
Before setting out supplies, match the tools and materials to your child’s age. Follow the American Academy of Pediatrics (AAP) choking prevention guidelines and the CPSC art and craft safety guide by choosing non-toxic supplies labeled for children, supervising rounded-tip scissors closely, leaving thick cardboard cutting to adults, and swapping loose cotton balls or small buttons for large paper cutouts for children under 3.
Visual Note: The images in this guide are digitally generated illustrations created to visualize design ideas and inspire your own family celebrations or craft sessions at home.
Quick-Choice Comparison Table & Master Supply List
Tap any project below to jump to its step-by-step idea and tips, or check the consolidated supply list underneath to gather materials for a cozy week indoors.
| Craft Project (Jump Link) | Key Supplies | Est. Active + Dry Time | Mess Level | Recommended Age |
|---|---|---|---|---|
| 1. Folded Paper Snowflakes | 20 lb copy paper or coffee filters, scissors, tape | 15m active | Low Mess (paper) | Ages 5+ (3+ if adult cuts) |
| 2. Woven Paper Mittens | 2 colors of cardstock, scissors, glue stick | 25m active | Low Mess (dry) | Ages 5+ (adult cuts slits) |
| 3. Hot Cocoa Mug Collage | Red & pink cardstock, white scrap paper, brown crayon, glue | 15m active | Low Mess (paper) | Ages 2.5+ |
| 4. Torn-Paper Winter Landscape | Navy cardstock, white & green paper, glue stick | 20m active | Low Mess (paper) | Ages 3+ |
| 5. Yarn-Wrapped Snowflakes | Cereal/shipping cardboard, chunky yarn, tape | 20m active | Low Mess (dry) | Ages 4+ (adult cuts cardboard) |
| 6. Cotton Ball Snowman | Blue cardstock, cotton balls, paper scraps, glue | 20m active + 15m dry | Low to Moderate | Ages 3+ (paper swap under 3) |
| 7. Paper Plate Penguin | 9″ paper plate, black/white/orange paper, glue | 20m active | Low Mess (paper) | Ages 3+ |
| 8. Paper Bag Polar Bear Puppet | Paper lunch bag, white cardstock, marker, glue | 20m active | Low Mess (paper) | Ages 3+ |
| 9. Cardboard Tube Snowy Owl | Toilet paper tube, white paper, markers, glue | 15m active | Low Mess (paper) | Ages 3+ |
| 10. Paper Plate Snow Globe | 9″ paper plate, blue cardstock, scraps, white crayon | 20m active | Low Mess (paper) | Ages 3+ |
| 11. Watercolor Snowflake Resist | Watercolor paper, white wax crayon, watercolors | 15m active + 25m dry | Moderate (paint) | Ages 3+ |
| 12. Handprint Winter Trees | Blue cardstock, brown & white tempera, brushes | 20m active + 30m dry | Moderate (paint) | Ages 2.5+ |
| 13. Coffee Filter Northern Lights | Coffee filters, washable markers, spray bottle | 20m active + 30m dry | Moderate (water) | Ages 4+ |
| 14. Craft Stick Mini Sled | 7 craft sticks, tacky glue, red craft paint, cut paper snowman | 25m active + 45m dry | Moderate (glue/paint) | Ages 5+ (with adult help) |
| 15. Cardboard Winter Village | Empty cereal boxes, kraft & colored paper, markers | 30m active | Low Mess (paper) | Ages 4+ (adult cuts boxes) |
Consolidated Supply List (Pick What You Need for Your Chosen Crafts):
- Paper & Household Recyclables: Lightweight 20 lb white printer paper, colorful construction paper and cardstock (including dark navy and black), heavyweight 140 lb watercolor paper, 9-inch uncoated paper plates, brown or white paper lunch bags, white basket coffee filters, empty cereal or cracker boxes, and clean toilet paper rolls.
- Tools & Adhesives: Rounded-tip kids’ scissors, glue sticks, washable school glue, thick tacky craft glue, clear tape, painter’s tape, paintbrushes, cotton swabs, a rimmed craft tray or baking sheet, and a fine-mist water spray bottle.
- Paints, Fibers & Extras: Washable kids’ watercolors, washable brown and white tempera paint, washable broad-tip markers, crayons (including a white wax crayon), cotton balls, chunky white or blue yarn, jute twine, and standard 4.5-inch wooden craft sticks.
Low-Mess Paper and Yarn Crafts
1. Folded Paper Snowflakes
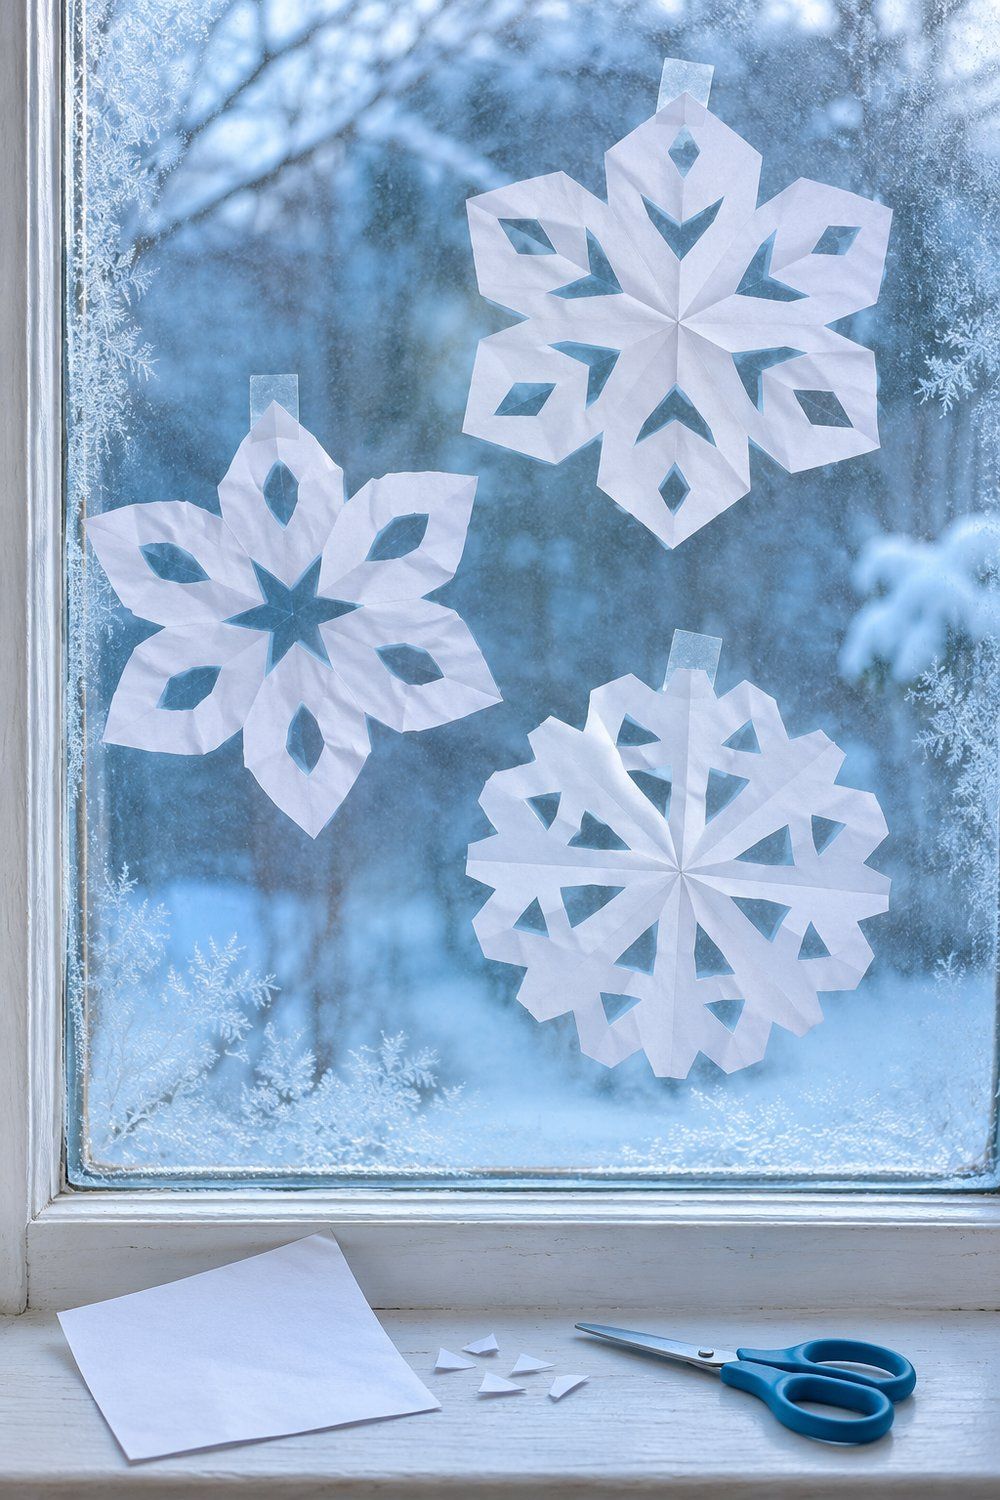
Crisp cut-paper snowflakes turn a bare living room window into a bright winter display using nothing more than plain copy paper. Trim an 8.5-inch sheet into a square, fold it diagonally into a triangle, fold it in half twice more into a narrow wedge, and let kids snip small triangles, scallops, and half-diamonds along the folded edges (leaving plenty of uncut fold between shapes) before unfolding gently.
Tip & Safety: Use thin 20 lb printer paper or round white basket coffee filters rather than heavy construction paper so rounded-tip kids’ scissors glide cleanly without jamming. If the folded point feels too thick for little hands, snip the tip for them and press finished snowflakes flat inside a heavy book before taping to the glass.
2. Woven Paper Mittens
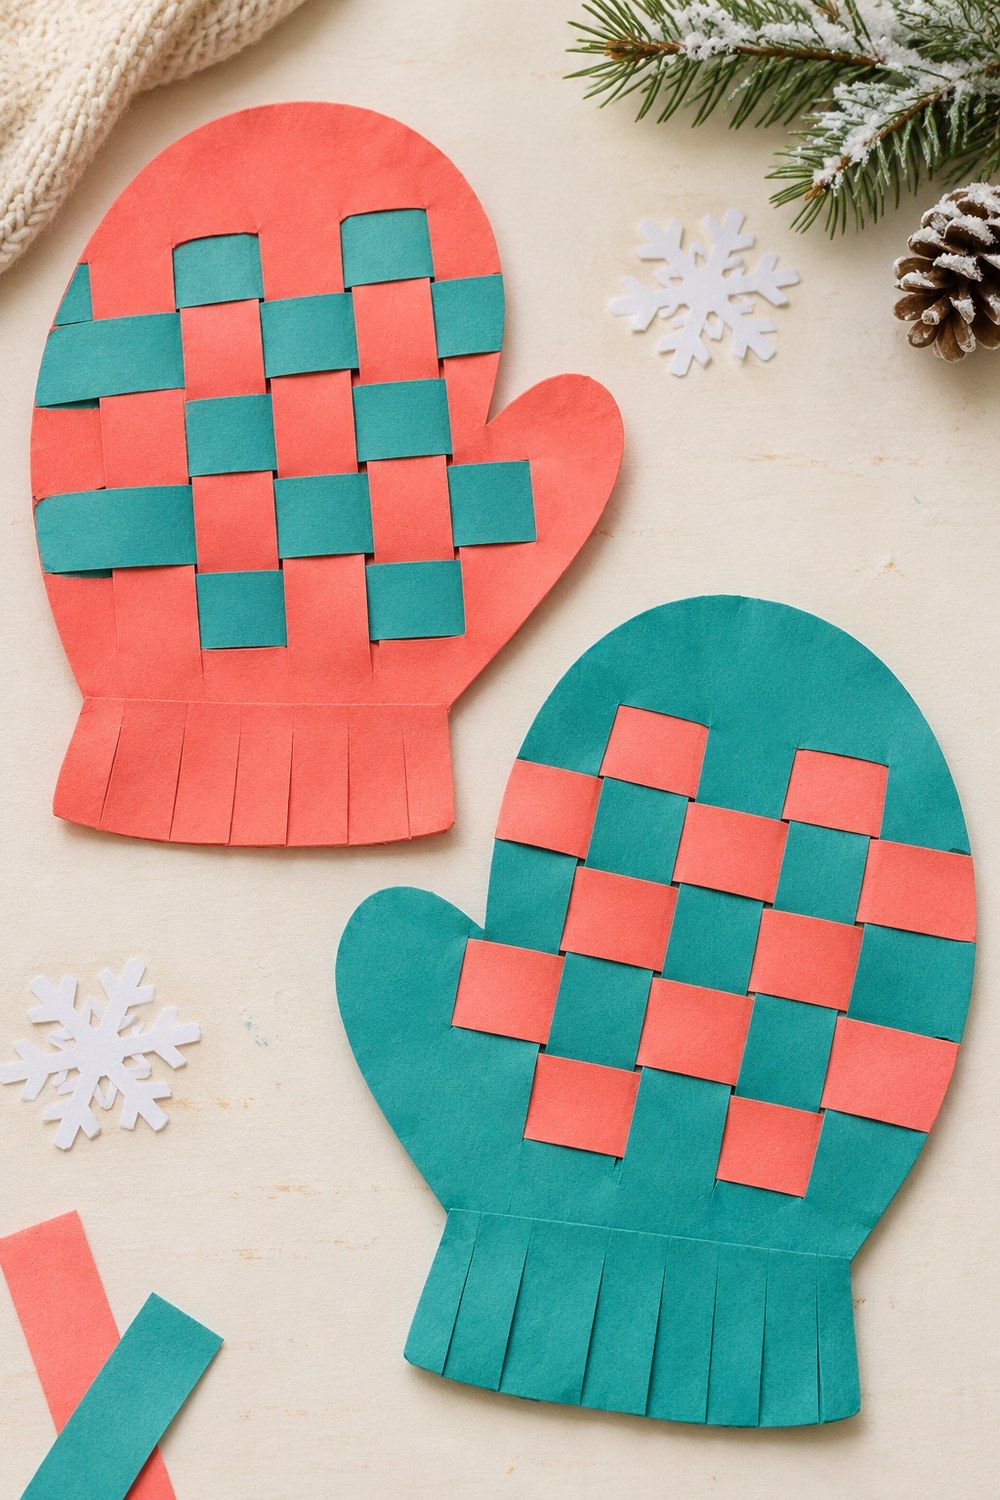
Checkerboard paper weaving gives early elementary kids a satisfying over-under pattern puzzle that finishes as a cozy cardstock winter bunting banner or wall accent (avoid loose craft magnets around young children). Have an adult cut a 7-inch mitten from sturdy cardstock, fold it lightly across the palm, and cut 5 parallel slits 3/4 inch apart (stopping a full 1/2 inch inside the outer border), then let kids weave contrasting teal and coral 3/4-inch strips across the slots and finish each wrist with a white fringed paper cuff.
Tip & Variation: Glue or tape the loose ends of every woven strip to the back of the mitten and trim any overhang flush with the edges. For younger preschoolers learning to weave, cut just 3 slits and provide wider 1-inch strips in two alternating colors so they can easily see the over-under rhythm.
3. Hot Cocoa Mug Collage
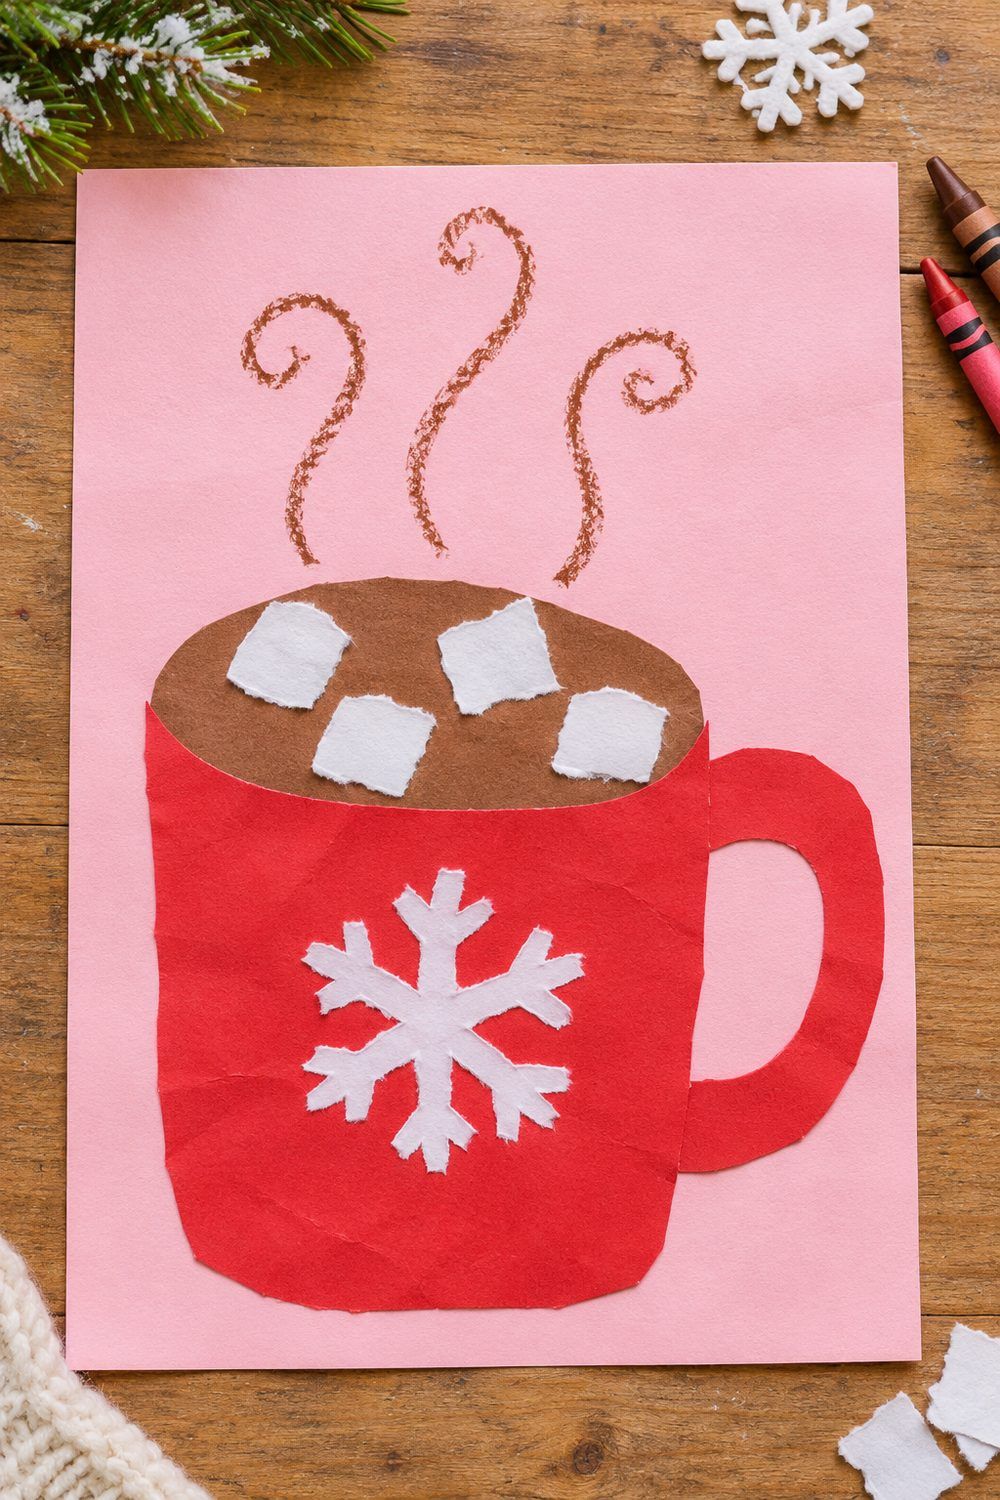
A cheerful paper mug piled high with torn-paper “marshmallows” is a zero-drying-time snow-day project that toddlers and preschoolers can assemble on their own. Glue a solid crimson cardstock mug stamped with a crisp white paper snowflake onto pale pink background paper, add torn white marshmallow shapes along the rim, and swirl curly brown crayon steam lines above the mug.
Tip & Variation: Fold the background cardstock in half before gluing the mug on front to turn the artwork into a handmade winter greeting card for grandparents, or tuck a red-and-white striped paper strip into the cocoa rim like a peppermint stick.
4. Torn-Paper Winter Landscape
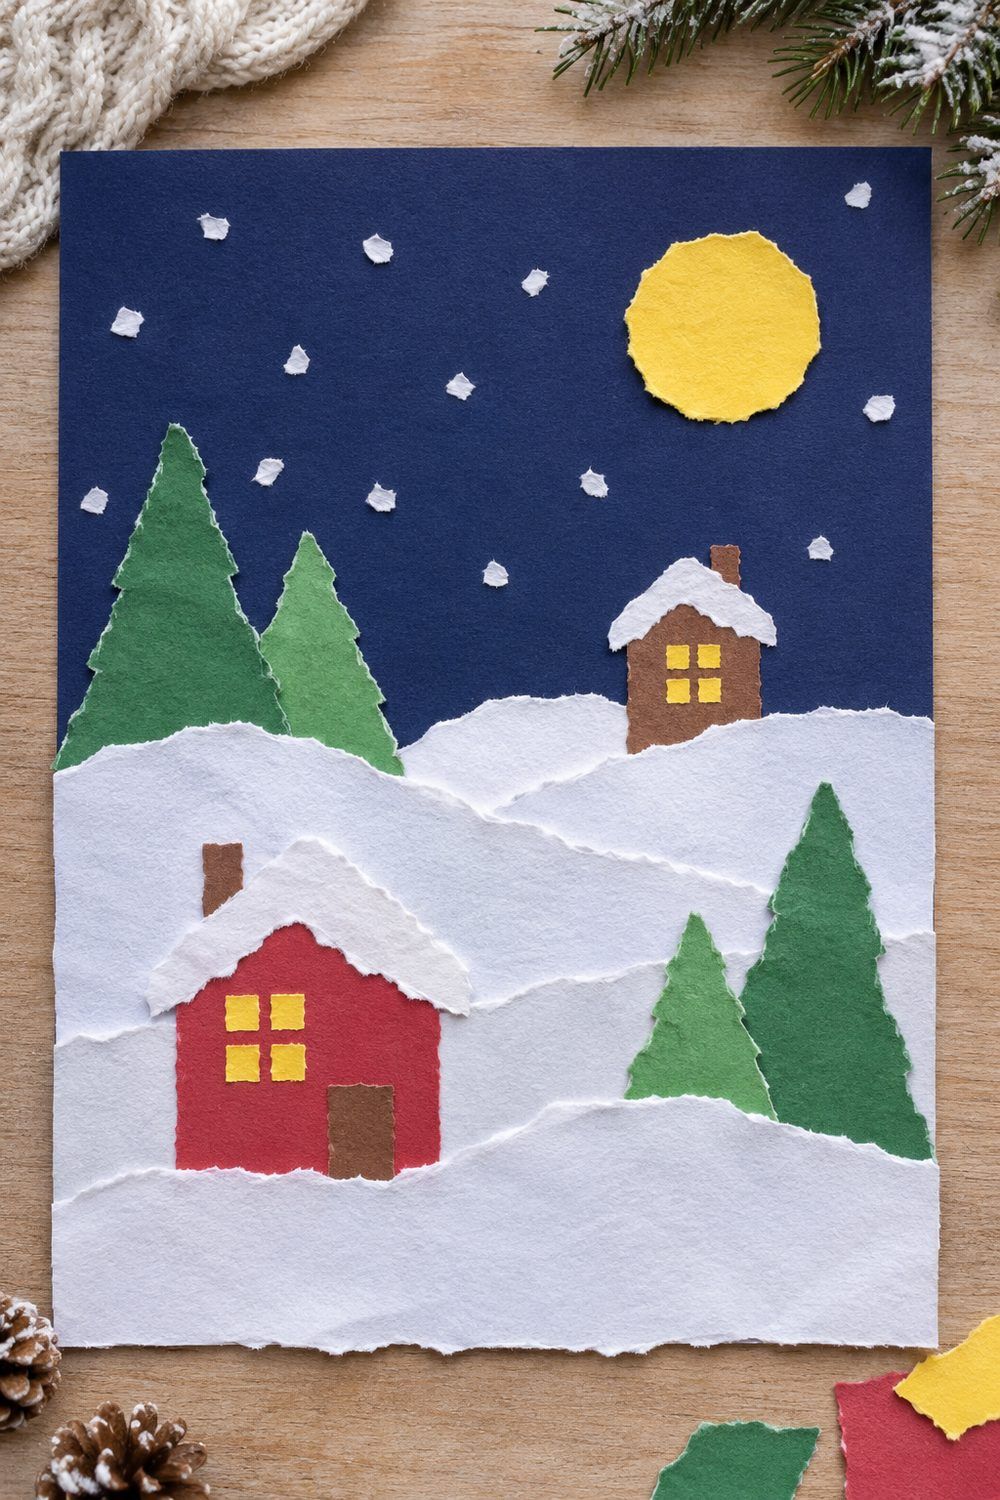
Tearing white copy paper slowly by hand creates soft, feathered deckle edges that mimic rolling snowdrifts against an evening sky. Have kids tear three horizontal strips of white paper and glue the highest hill across the middle of a dark navy sheet first, layering the lower hills forward while tucking torn green paper evergreens, small square cottages, and glowing yellow paper windows into the snowy valleys.
Tip: Run a glue stick along only the side and bottom edges of each white hill before pressing down; leaving the torn top ridge unglued creates neat pockets so kids can slide paper trees and houses right behind the snowbanks.
5. Yarn-Wrapped Cardboard Snowflakes
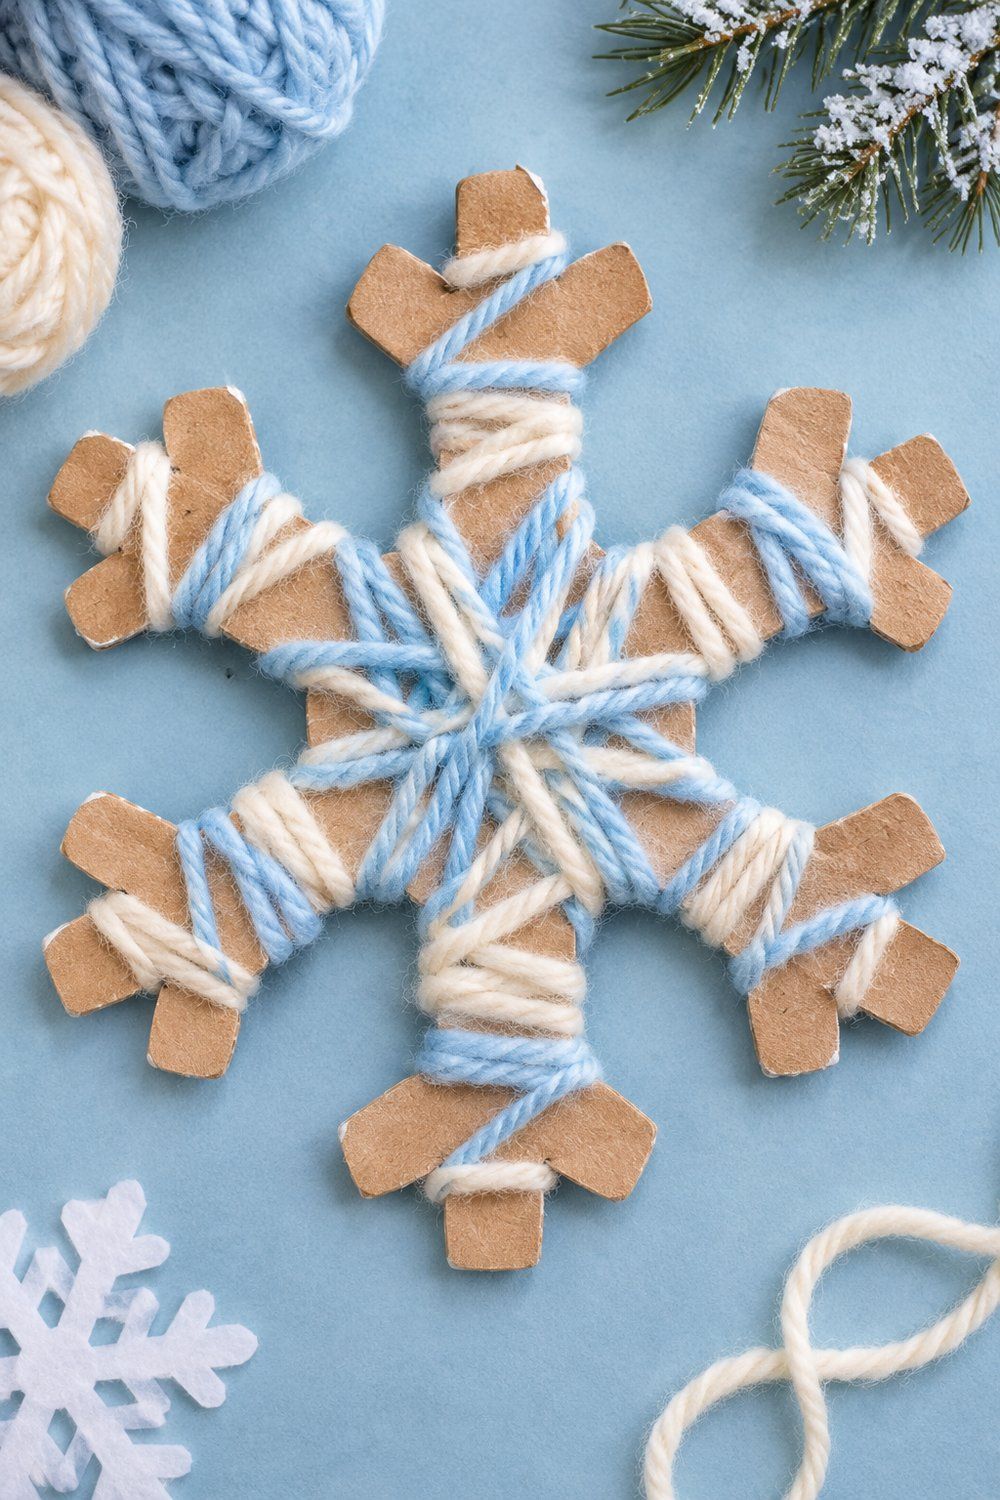
Winding chunky cream, icy blue, and silver yarn around recycled shipping cardboard builds bilateral hand coordination while turning empty boxes into textured Nordic-style winter ornaments. Have an adult cut a sturdy 6-inch, six-pointed snowflake from a cereal or shipping box, tape the starting yarn end to the back, and let kids wrap yarn around each arm while crossing over the center hub to switch directions.
See our DIY felt quiet book ideas for more quiet tactile projects.
Tip & Safety: Cut a shallow 1/4-inch V-notch into the outer tip of all six cardboard arms so the yarn locks in place instead of slipping off smooth corners. Pre-cut yarn into tangle-free 4-foot strands, and hang finished ornaments well out of reach of cribs and toddler beds.
Snowy Animals and Winter Scenes
6. Cotton Ball Snowman
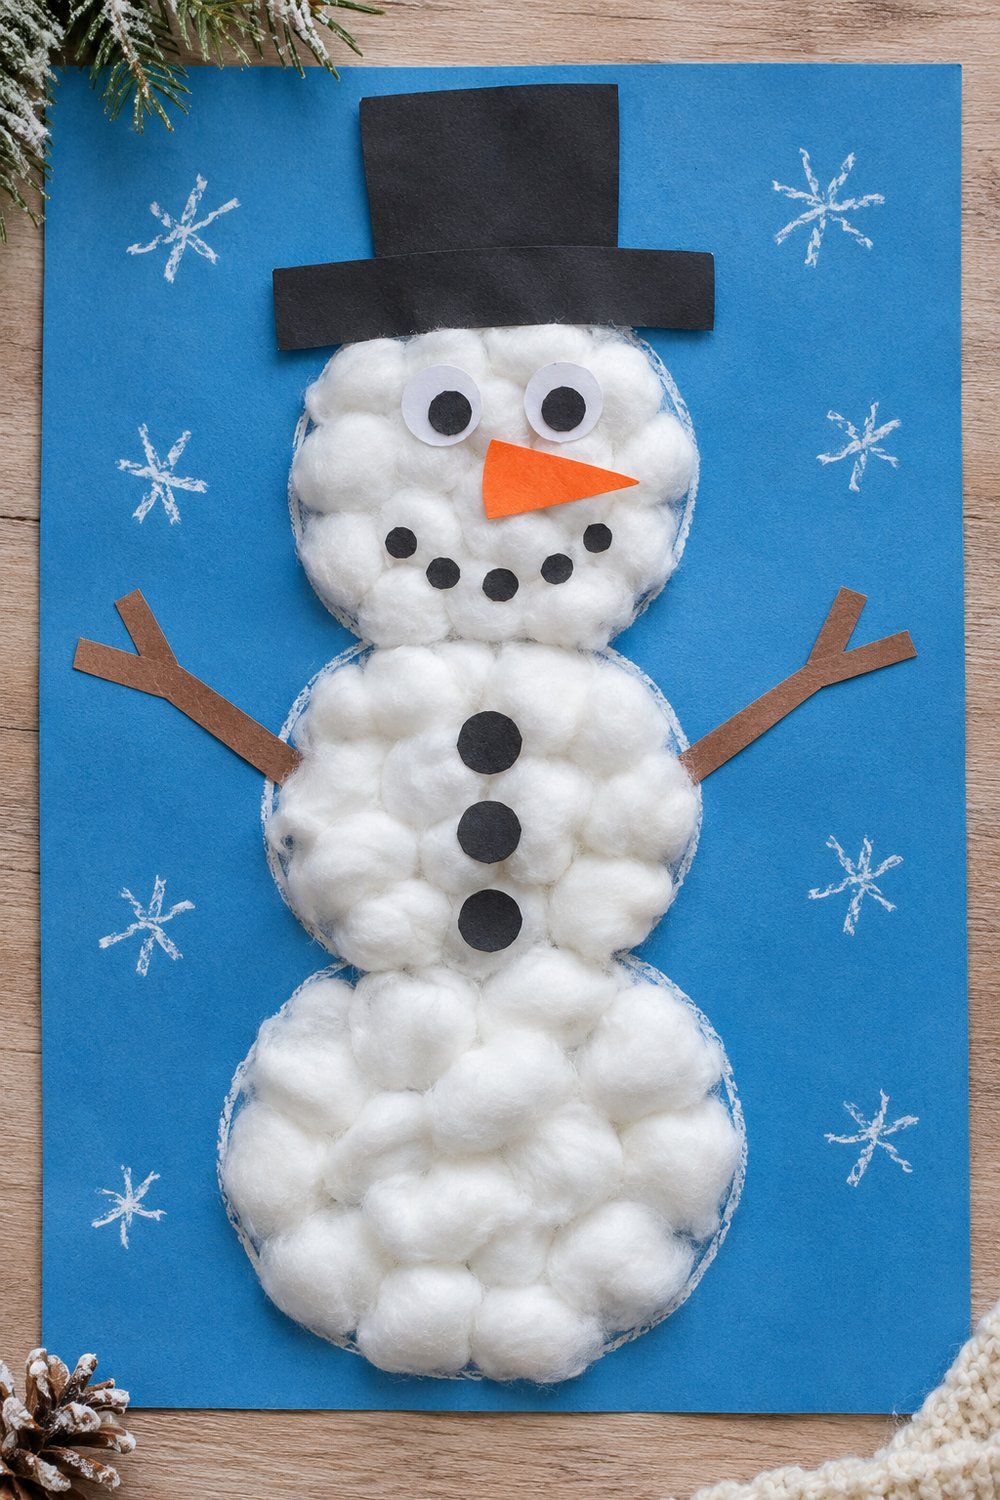
Fluffy white cotton balls transform three penciled circles into a soft, dimensional snowman portrait for a playroom wall or fridge door. Trace three stacked circles (2.5-inch, 3.5-inch, and 4.5-inch) onto heavyweight blue cardstock, brush liquid school glue inside one circle at a time, and let kids press gently stretched cotton balls snugly together before topping with a cardstock hat, orange paper carrot nose, paper coal dots, and white crayon flurries.
Tip & Safety: Pour washable liquid glue into a shallow dish with an old paintbrush rather than using a glue stick, which cannot hold thick cotton fibers once dry. For toddlers under 3 who still mouth small materials, replace cotton balls and loose buttons with large crumpled tissue squares and flat paper circles.
7. Paper Plate Penguin
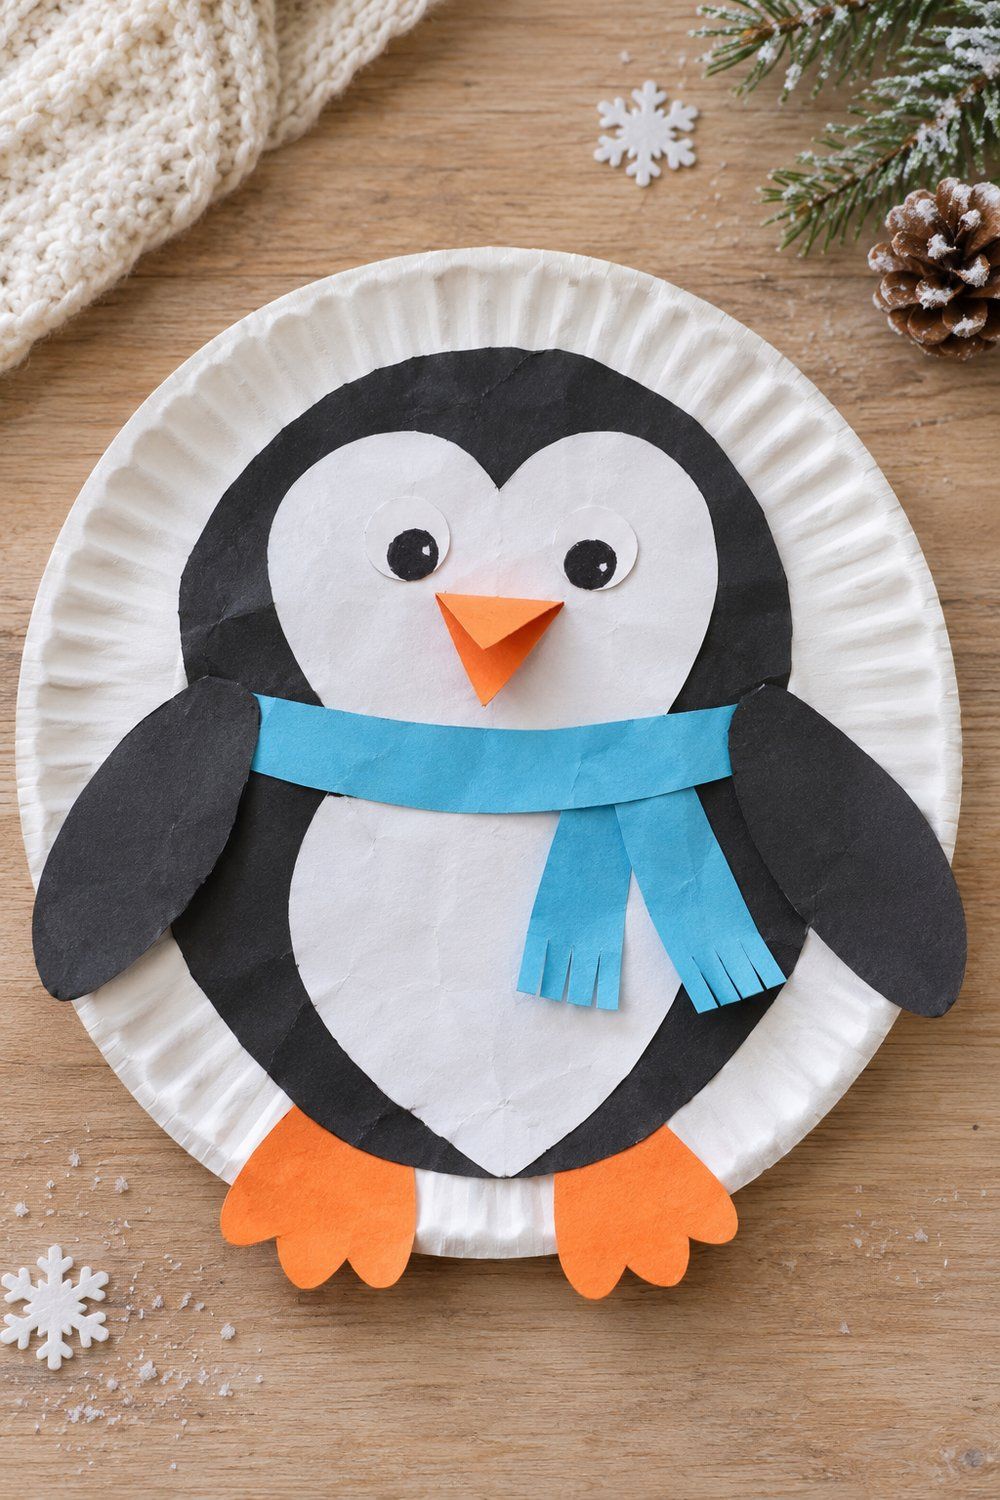
An ordinary 9-inch uncoated paper plate makes a sturdy round frame for a bundled-up arctic penguin character. Glue a 7-inch black cardstock circle into the center of the plate (or paint the back of the plate black ahead of time), press a wide white paper heart over the middle to create the arched penguin face and snowy belly in a single shape, and attach black paper flippers, orange webbed feet, marker eyes, and a colorful paper scarf.
Tip: Fold a 1.5-inch orange paper square diagonally into a triangle and glue down only the top crease so the penguin’s beak pops open in 3D, then snip tiny 1/4-inch fringes into the ends of the paper scarf for extra texture.
8. Paper Bag Polar Bear Puppet
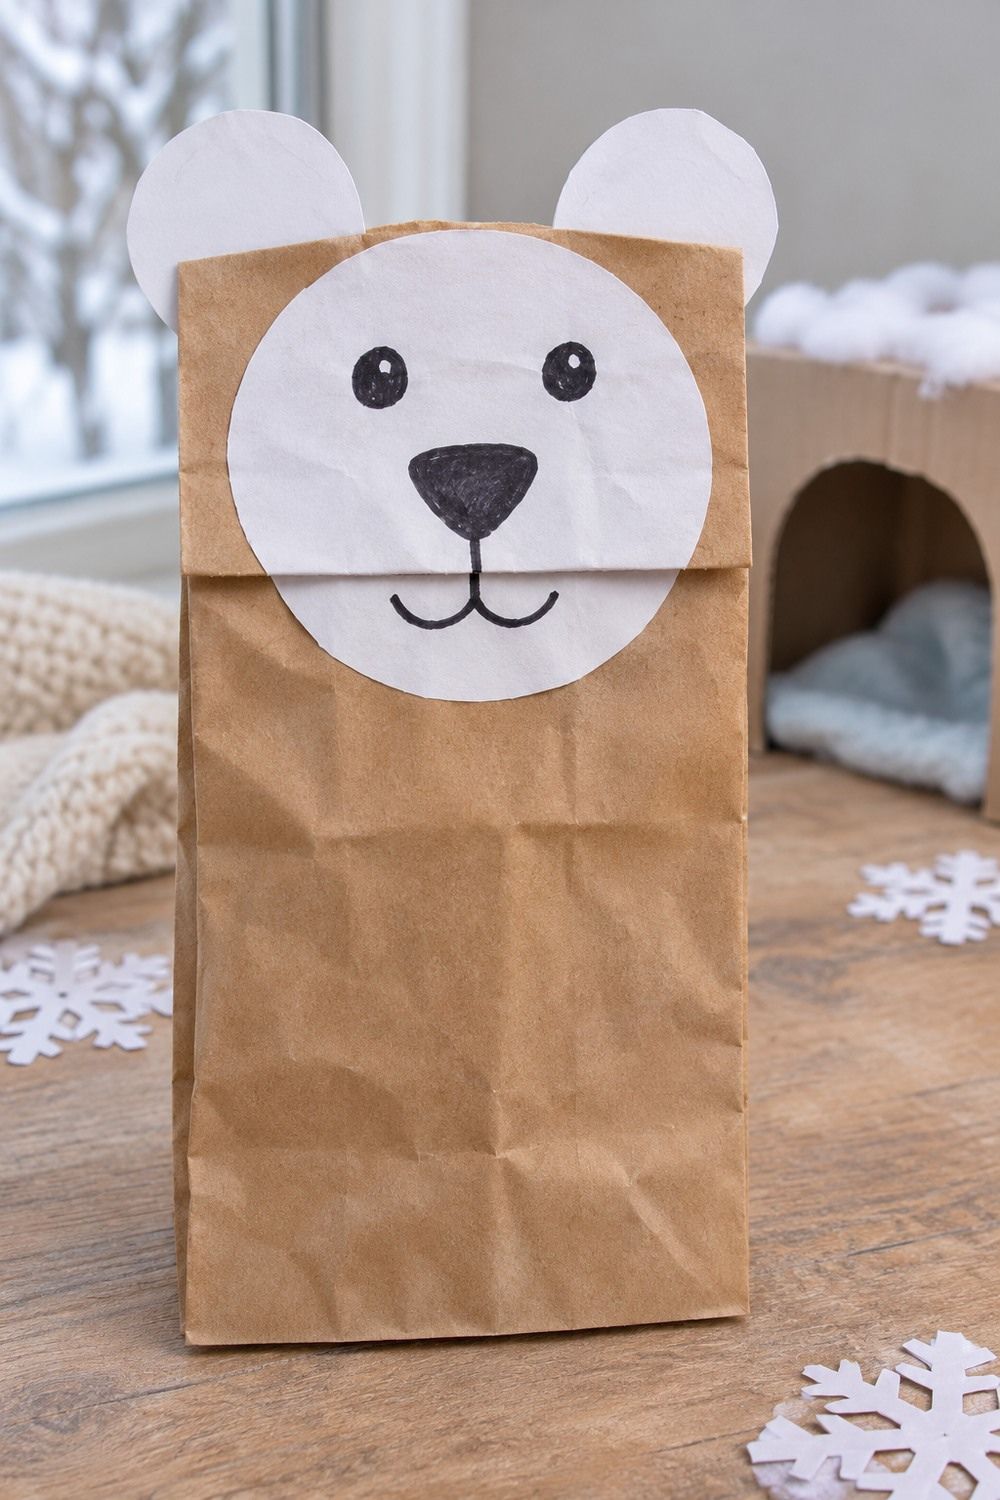
Standard paper lunch bags turn into chomping arctic polar bear hand puppets ready for indoor snow-day puppet shows. Lay a flat lunch bag on the table with the folded rectangular bottom flap facing up, leave the lower brown kraft bag bare, glue a round white cardstock face with rounded ears onto the upper flap, and draw cheerful black marker eyes, a button snout, and pink rosy cheeks.
For more kid-friendly character crafts, browse our Father’s Day crafts for toddlers.
Tip: Lift the folded bottom flap and glue a pink paper half-circle inside the crease as a tongue so the polar bear’s mouth opens and closes as your child moves their fingers, and tip a white-paper-wrapped shoebox onto its side for an instant tabletop ice cave.
9. Cardboard Tube Snowy Owl
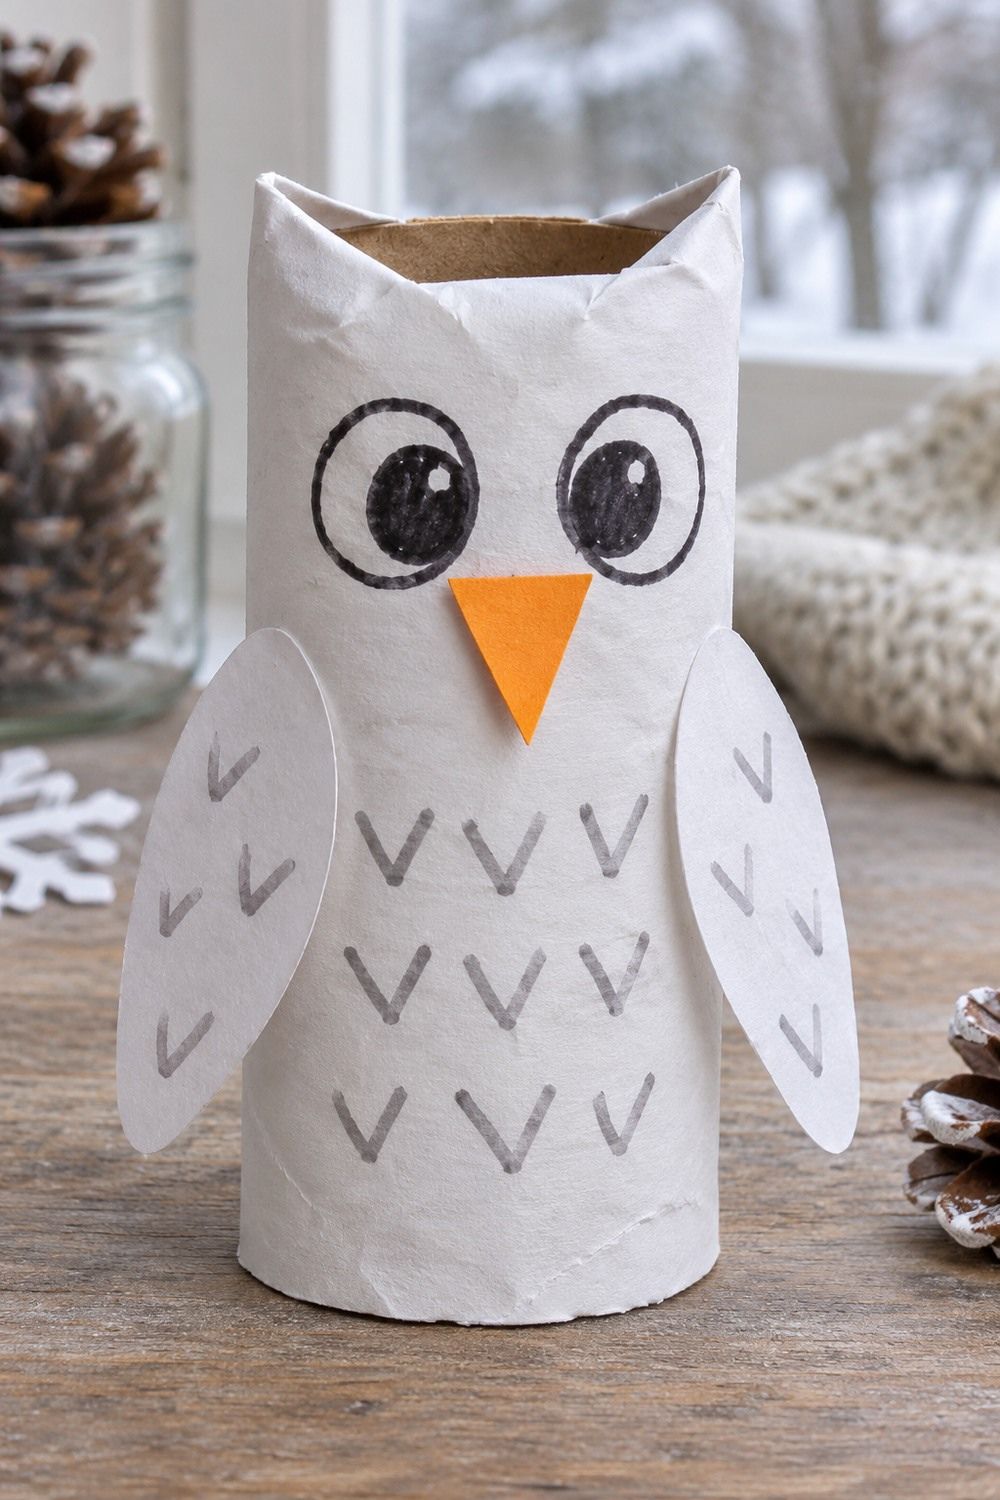
Clean 4-inch toilet paper rolls wrapped in crisp white paper stand upright as perched snowy owls speckled with arctic markings. Glue white construction paper smoothly around an open flat-rim tube, add large contrasting black-and-white paper circle eyes, a small orange or dark triangle beak, and rows of gray marker V-shapes across the chest.
Tip & Variation: Fold white paper cupcake liners in half and glue the creased edges to the sides of the tube for instant scalloped 3D wings, or make a whole snowy owl family in varied heights by cutting a paper towel roll into 3-inch, 4-inch, and 5-inch segments.
10. Paper Plate Snow Globe
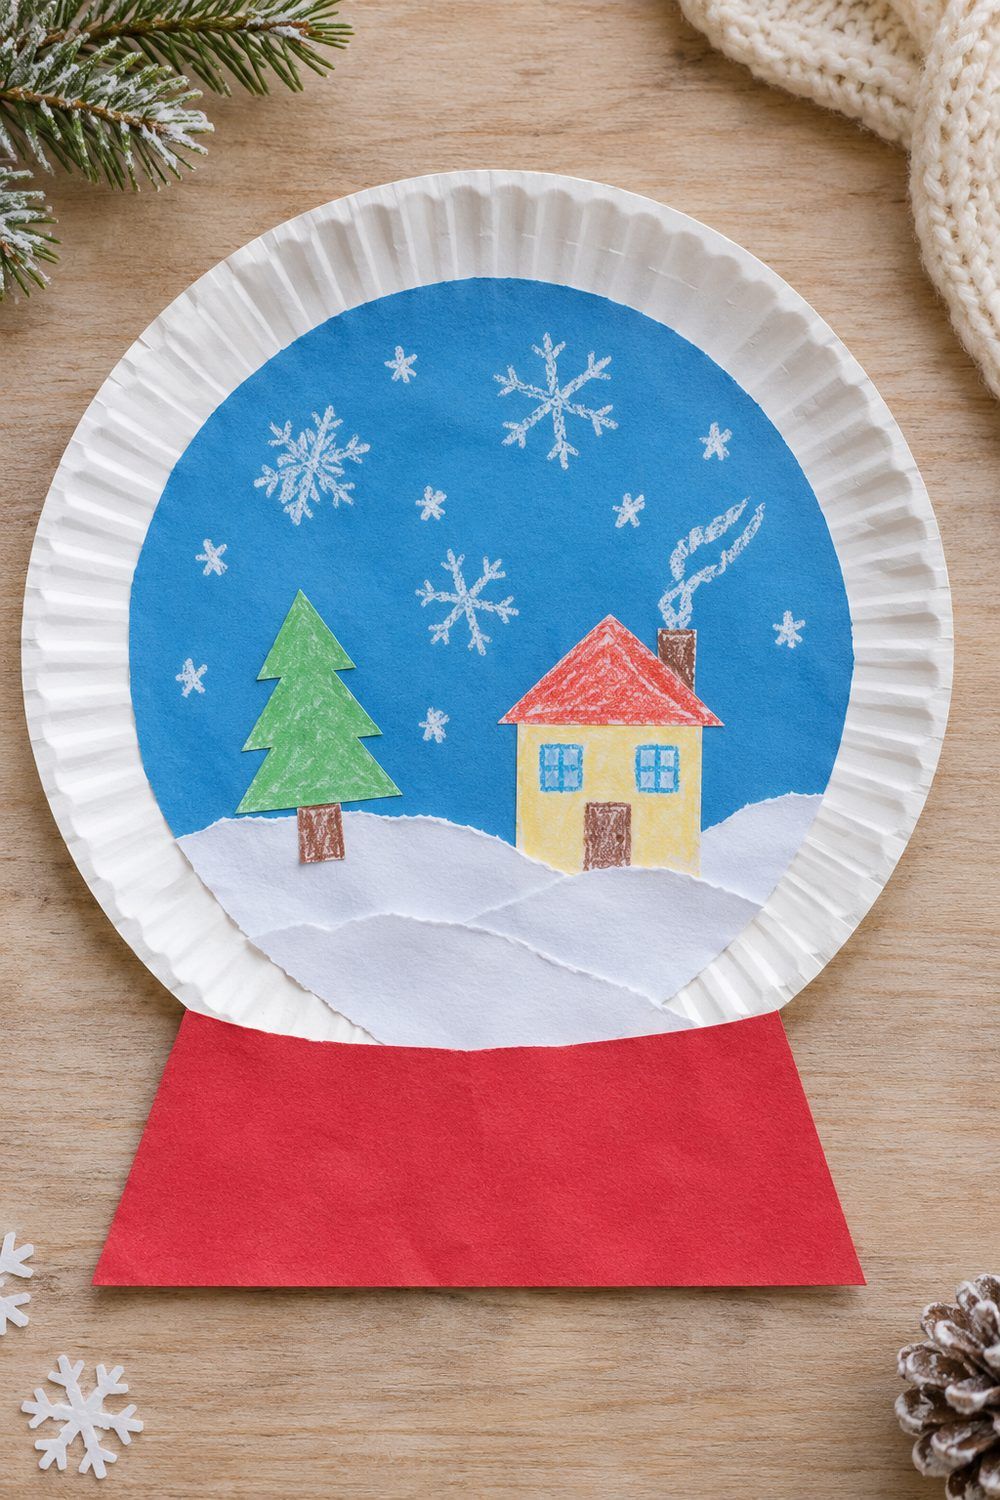
The raised rim of a 9-inch white paper plate frames a miniature winter collage like a shatterproof snow globe keepsake. Glue a 6.5-inch sky-blue cardstock circle into the center well of the plate, layer a torn white paper snowbank with a cheerful yellow paper cottage, green pine tree, and tiny snowman inside, dot falling snow across the sky, and glue a bright red cardstock trapezoid base behind the bottom rim.
Tip & Variation: To turn it into a clear window shaker globe for ages 4 and up, cut the center circle out of a second paper plate, seal a square of clear contact paper sticky-side back behind the cutout ring, sprinkle a pinch of white hole-punch paper confetti over the scene, and tape or staple the rims together.
Winter Painting and Recycled Crafts
11. Watercolor Snowflake Resist Art
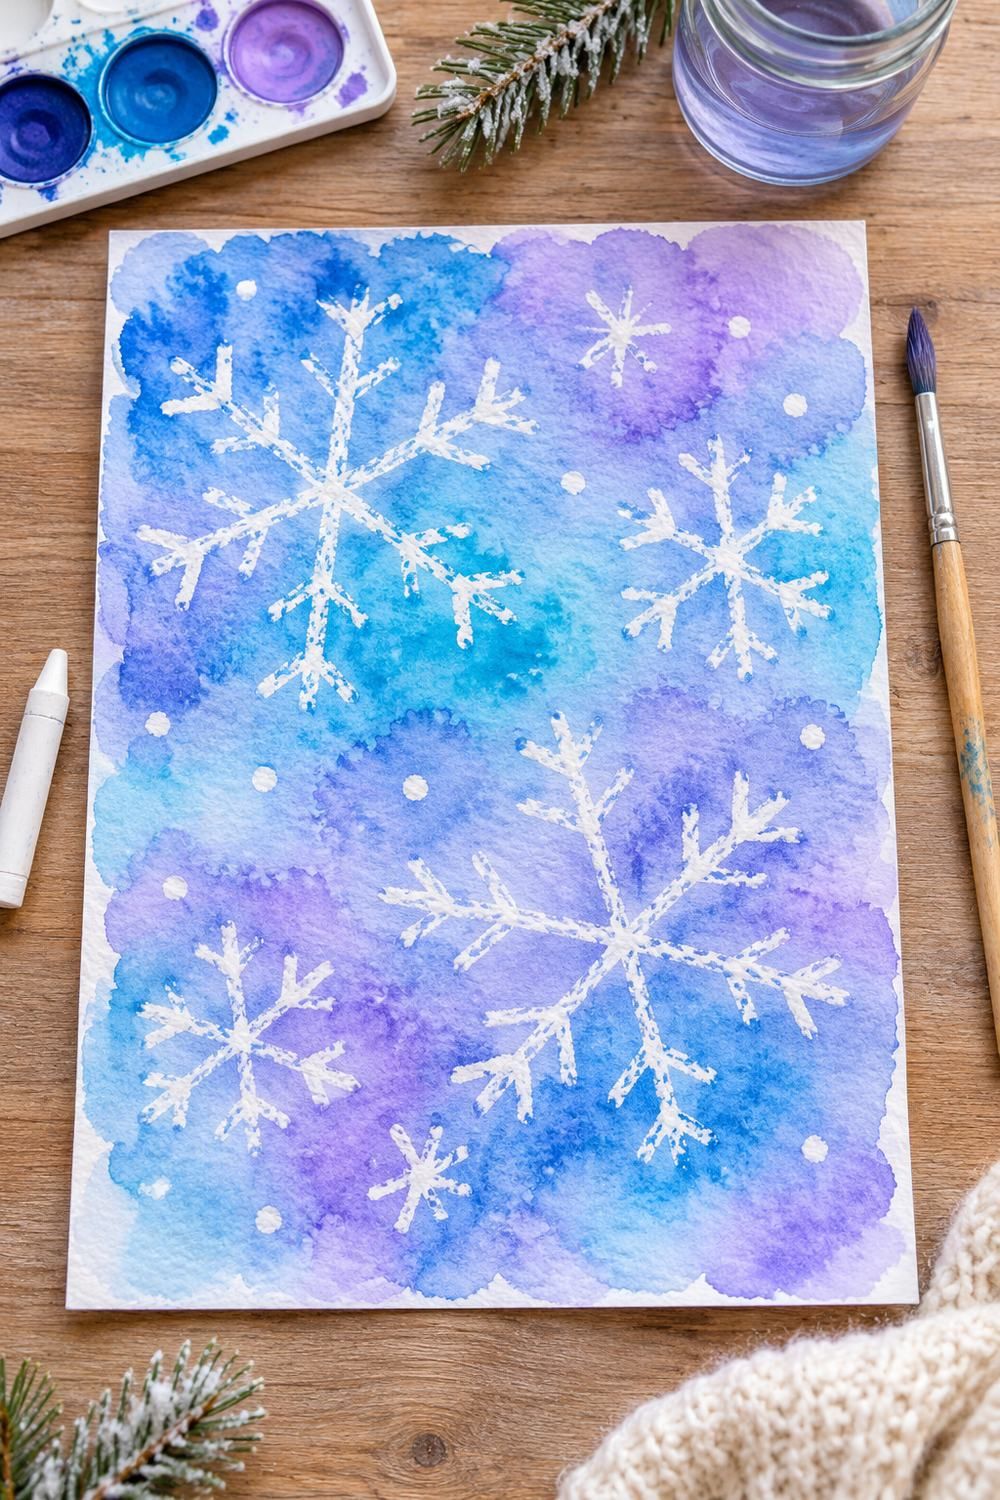
Sketching “invisible” snowflakes with a white wax crayon feels like a winter science trick when a brushstroke of icy blue watercolor suddenly reveals every crisp white crystal line. Tape heavyweight 140 lb watercolor paper flat onto a tray, have kids press firmly with a white wax crayon to draw intersecting six-spoke stars and dots, and brush diluted cobalt blue, teal, and violet watercolor washes right over the wax.
Tip: Have kids tilt their white paper slightly toward a table lamp or window while drawing so they can spot the glossy wax lines before painting, and dab away heavy water puddles with a dry tissue corner so pigment does not dry dull over the wax.
12. Handprint Winter Trees
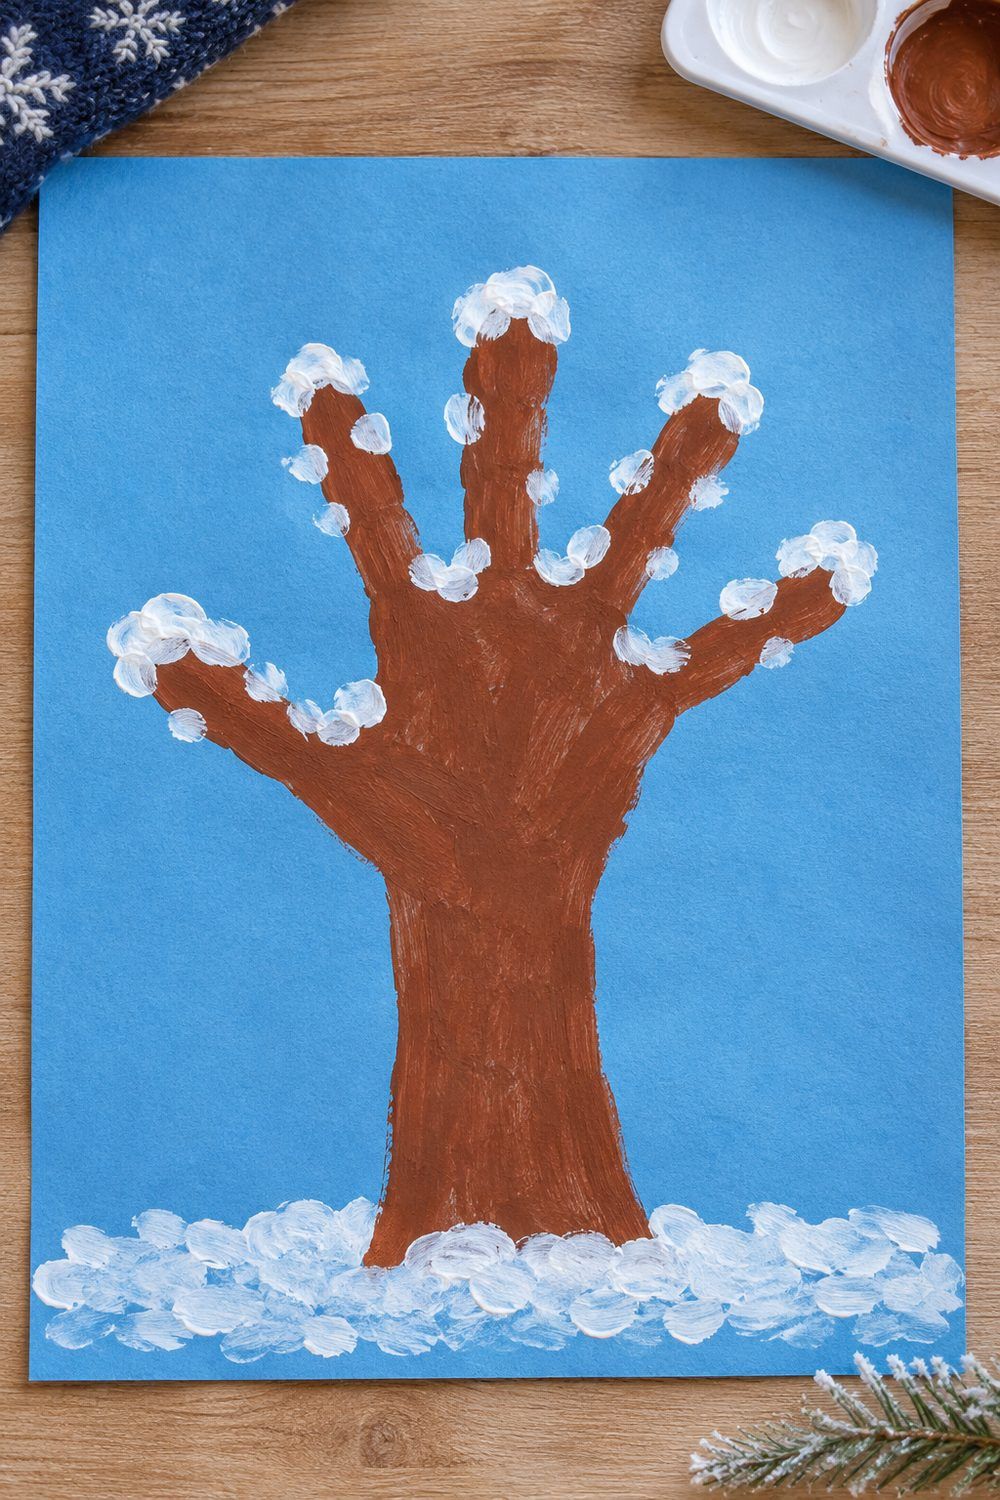
Tracing a child’s outstretched hand and forearm captures their winter hand size in a woodland tree painting worthy of a seasonal frame. Trace lightly around your child’s mid-forearm and five spread fingers onto slate-blue cardstock, let them paint the arm trunk and finger branches warm bark-brown with washable tempera, and dab thick white snowdrifts along the top edge of every branch and across the ground once the brown paint dries.
Tip: Bundle three cotton swabs together with a rubber band so toddlers can stamp clusters of falling snowflakes across the sky in seconds without soaking the paper, or paint the handprint white with thin black horizontal dashes for a snowy birch tree look.
13. Coffee Filter Northern Lights
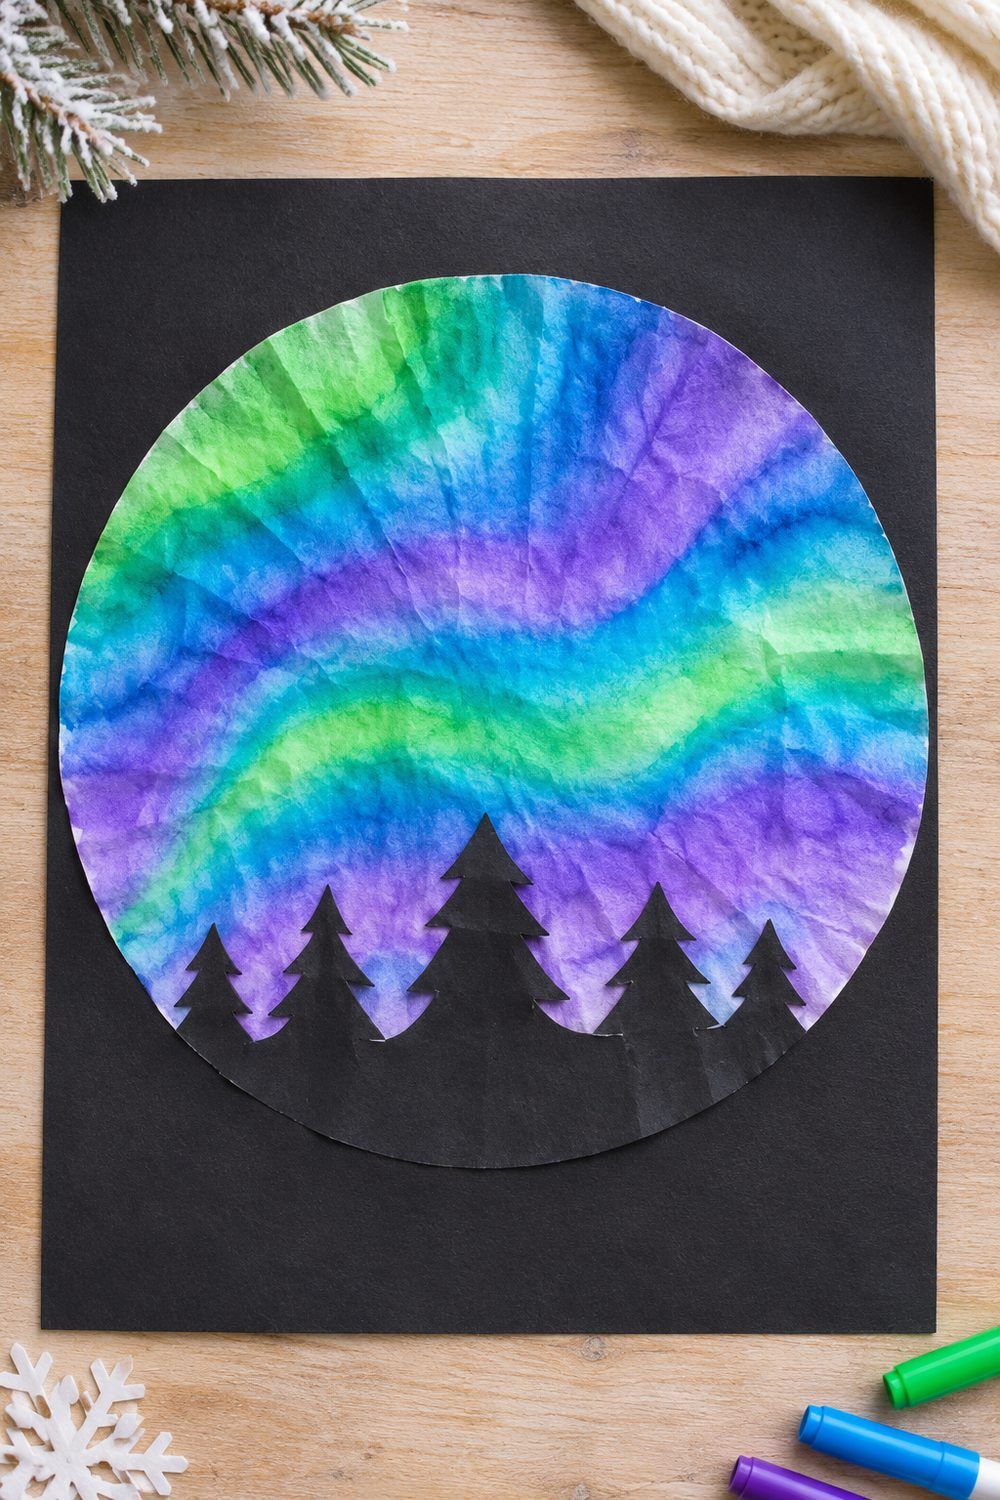
Misting washable marker ribbons on porous white coffee filters creates soft, bleeding color curtains that look remarkably like the northern lights glowing above an arctic treeline. Flatten a basket coffee filter onto a rimmed baking sheet, draw wavy stripes of emerald green, turquoise, blue, and purple washable markers (leaving thin white spaces between colors), mist lightly with 3 to 4 sprays of water, and glue the dried filter onto black cardstock behind a cut black paper pine forest.
Tip & Safety: Always spray filters inside a rimmed cookie sheet or plastic tray because wet marker ink bleeds straight through onto wood tables, and blot excess moisture on paper towels to cut drying time down to 20 minutes. Help younger kids aim the spray nozzle straight down into the tray.
14. Craft Stick Mini Sled
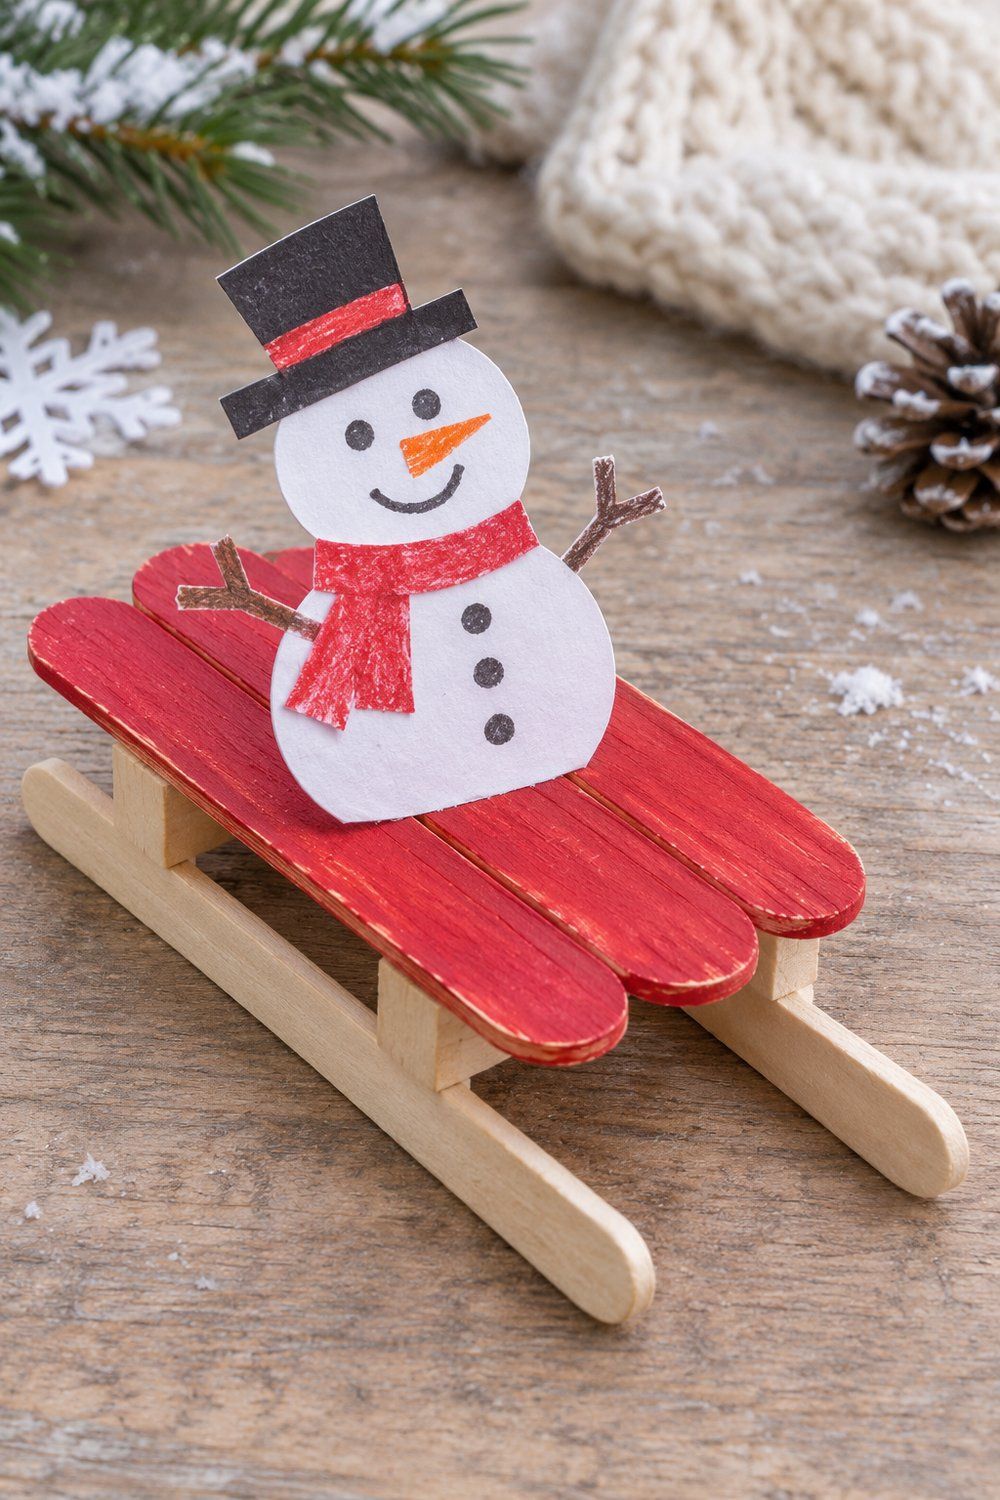
Seven standard 4.5-inch wooden craft sticks assemble without any wood cutting into a classic miniature toboggan for winter shelf displays or small toy riders. Line up 3 craft sticks side by side for the deck (sliding the center stick 1/4 inch forward for a traditional sled nose), glue 2 sticks perpendicular across the underside as crossbars, flip once tacky, and glue the remaining 2 sticks parallel beneath the crossbars as runners painting only the top three-stick deck bright red over unpainted natural runners and seating a cute paper snowman on top without loose twine loops.
Tip & Safety: Check wooden craft sticks for rough edges or splinters before handing them to kids, and use thick tacky craft glue rather than thin liquid school glue so the runners stay aligned while drying flat. Display the sled flat on a mantel or shelf out of reach of children under 3.
15. Cardboard Winter Village
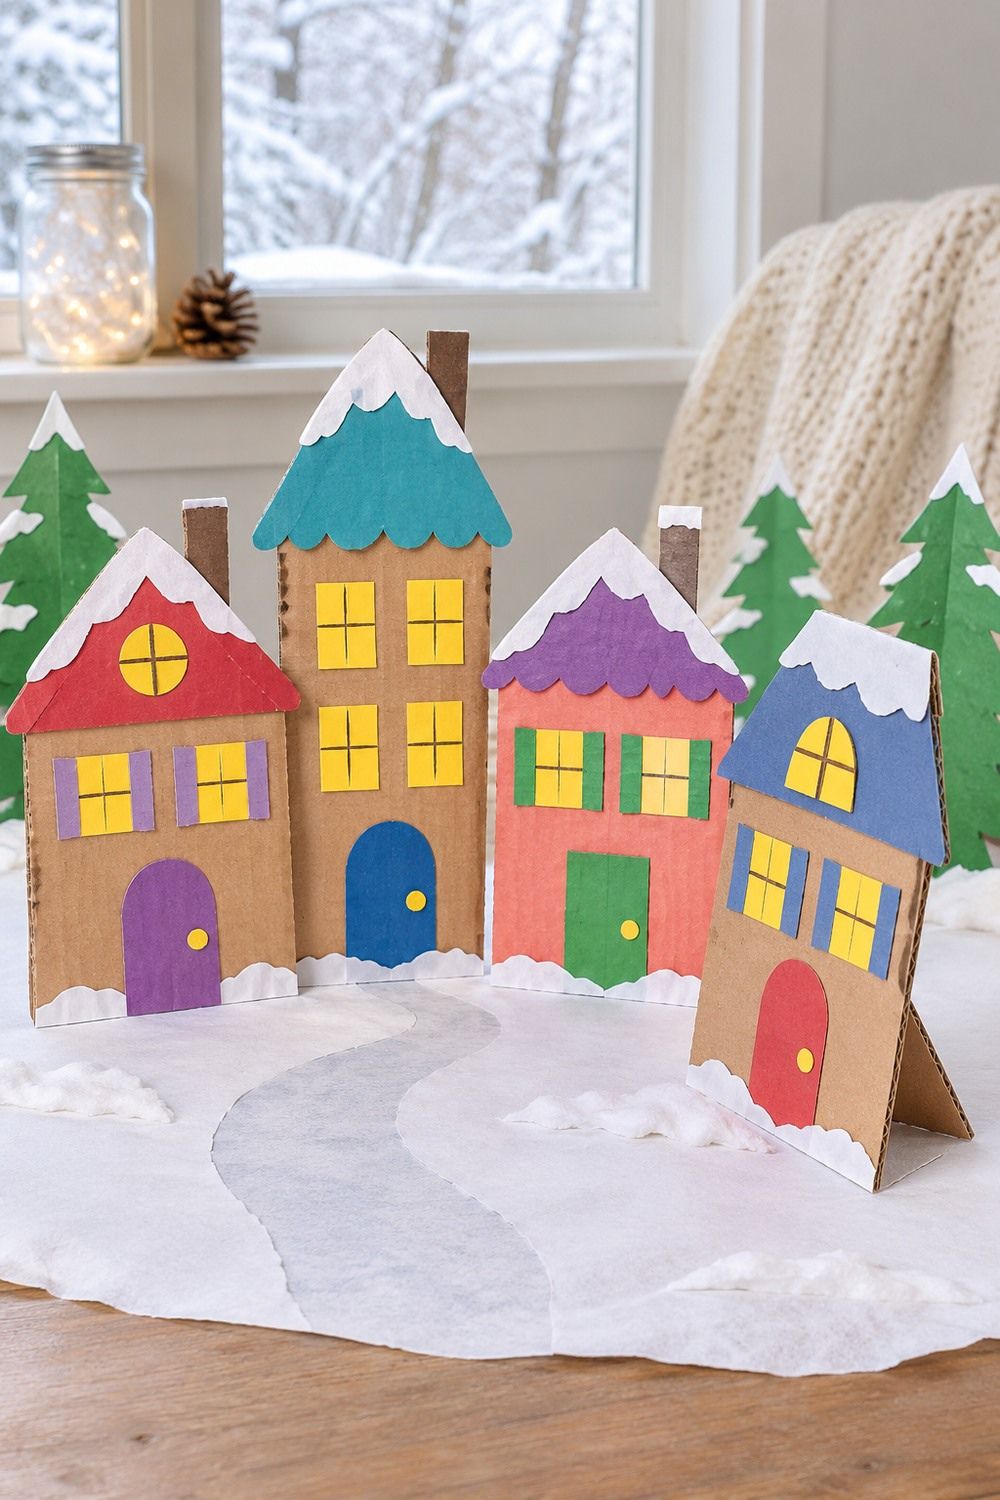
Flat panels cut from empty cereal and cracker boxes stand upright into a charming tabletop winter village that siblings can build onto throughout the week. Have an adult cut 4-inch to 7-inch peaked cottage, bakery, and clock-tower facades from thin boxboard, cover the printed sides in brown kraft or muted pastel paper, and let kids glue on scalloped white paper snow eaves, arched doors, and warm yellow window grids along a white paper street runner.
Tip & Safety: Fold a 2-inch by 5-inch strip of scrap boxboard into a right-angle triangle stand and glue or tape it flush against the lower back of each house so tall facades never tip forward. Leave box cutting strictly to adults, and if placing lights behind cut-out windows, follow CPSC button battery warnings by using only LED tea lights with screw-secured battery compartments.
Illustrations in this article were digitally generated to visualize design ideas. They are inspiration, not photographs of projects we personally built or tested.
Editorial Note
“When setting up winter crafts for mixed ages, prep the structural steps ahead of time: slice cereal boxes into flat house facades, pre-cut yarn into tangle-free 4-foot strands, and set out one tray of pre-cut shapes alongside scrap paper for tearing. Starting with a quick glue-stick collage or leaving the cardboard village on a side table lets kids create at their own pace all week without heavy cleanup.” (Mom Daily Ideas Editorial Team)
Saving a few household paper tubes and cereal boxes makes cold-weather crafting easy to pull together on any snowy afternoon. Pick a low-mess paper collage for a quick 15-minute activity or set out watercolors and craft sticks over the weekend to brighten winter days indoors.